User Manual
Welcome! This guide walks you through everything on the Ratterman family website, one menu item at a time. You don't need to know anything about computers or websites to follow along — just find the section you want and take it step by step.
Getting started
Signing in, finding your way around, and signing out.
Signing in
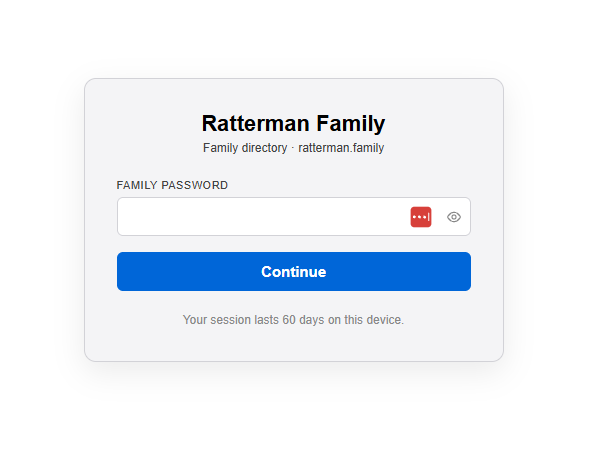
The website is private to our family, so it asks who you are before it will show you anything. Signing in takes two quick steps.
- Go to the website address in your web browser.
- Type the shared family password and click Continue.
- A box appears asking who you are. Type or pick your own name from the list, then click Continue again. You're signed in — no second password needed.
The menu
Once you're signed in, a row of links runs across the top of every page. That's the menu — it's how you move around the site. Click any item to go to that part of the website.

Signing out
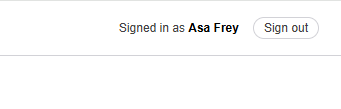
In the top-right corner you'll see "Signed in as [your name]." Next to it is a Sign out link — click it when you're finished, especially on a shared or public computer.
Family List
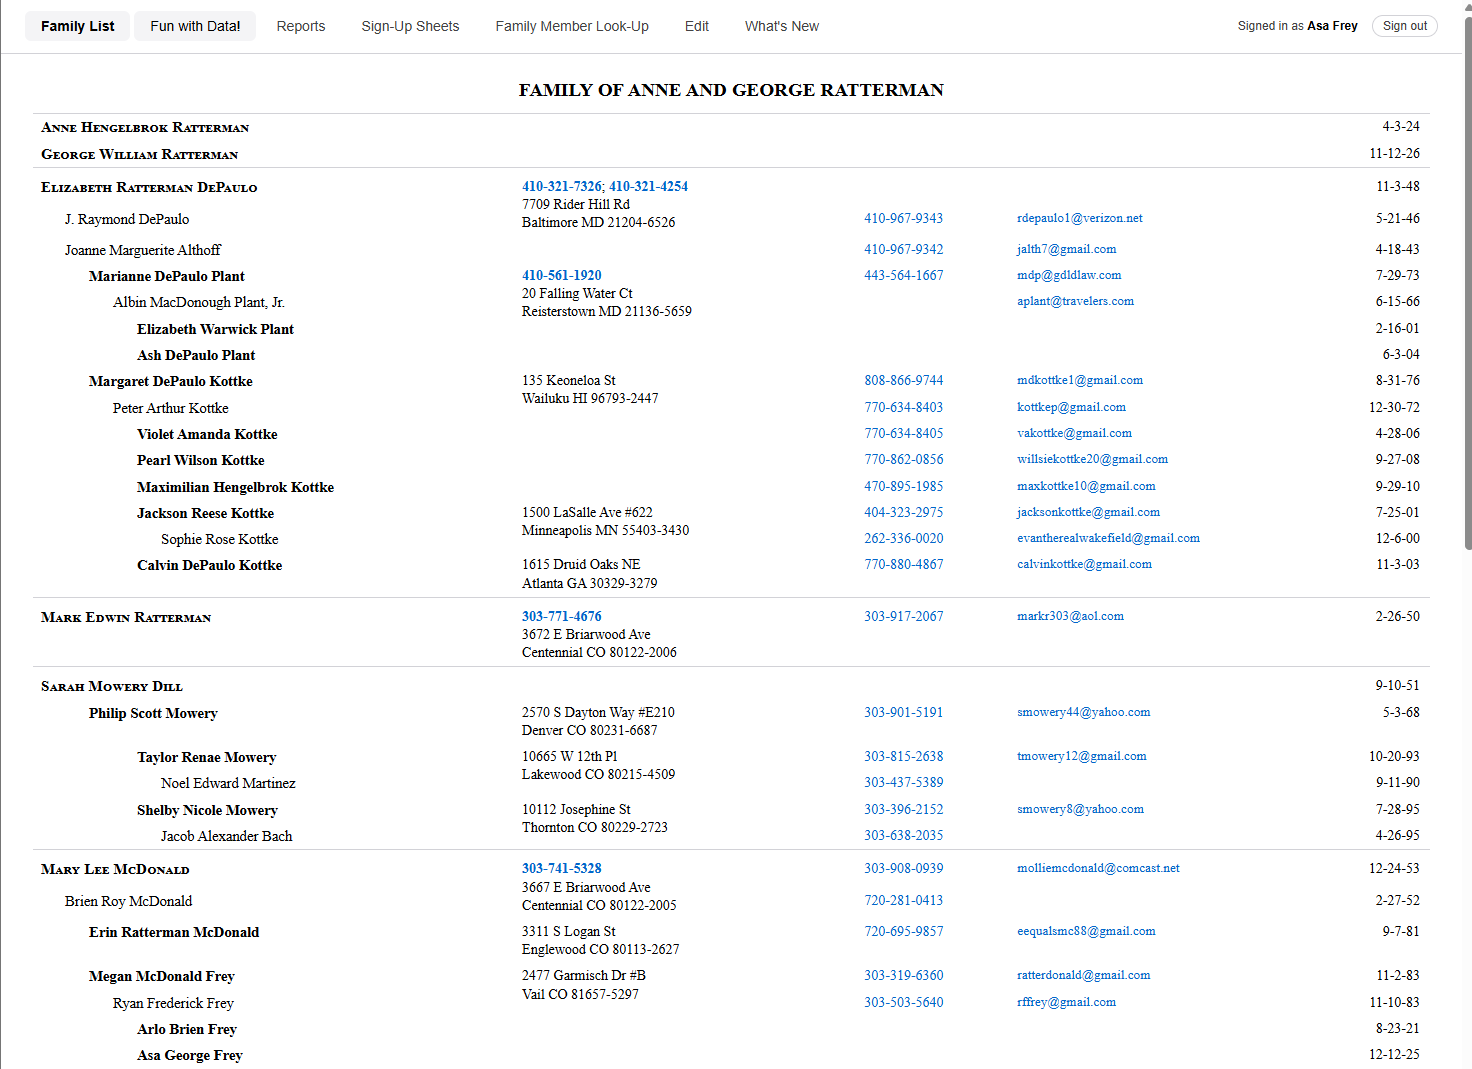
The full family directory — everyone's name, address, phone, and birthday.
Click Family List in the menu. This is the home page of the site and the family directory, laid out the same way as the printed family list you may already know.
- The family is grouped by household, so people who live together appear together with their shared address.
- Each branch of the family (the children of Anne and George and their descendants) is grouped and spaced apart.
- Every person's cell phone, email, and date of birth appear on their row.
- On a phone or computer you can tap a phone number to call it, or tap an email address to start an email.
Fun with Data!
Fun facts and colorful charts about the whole family.
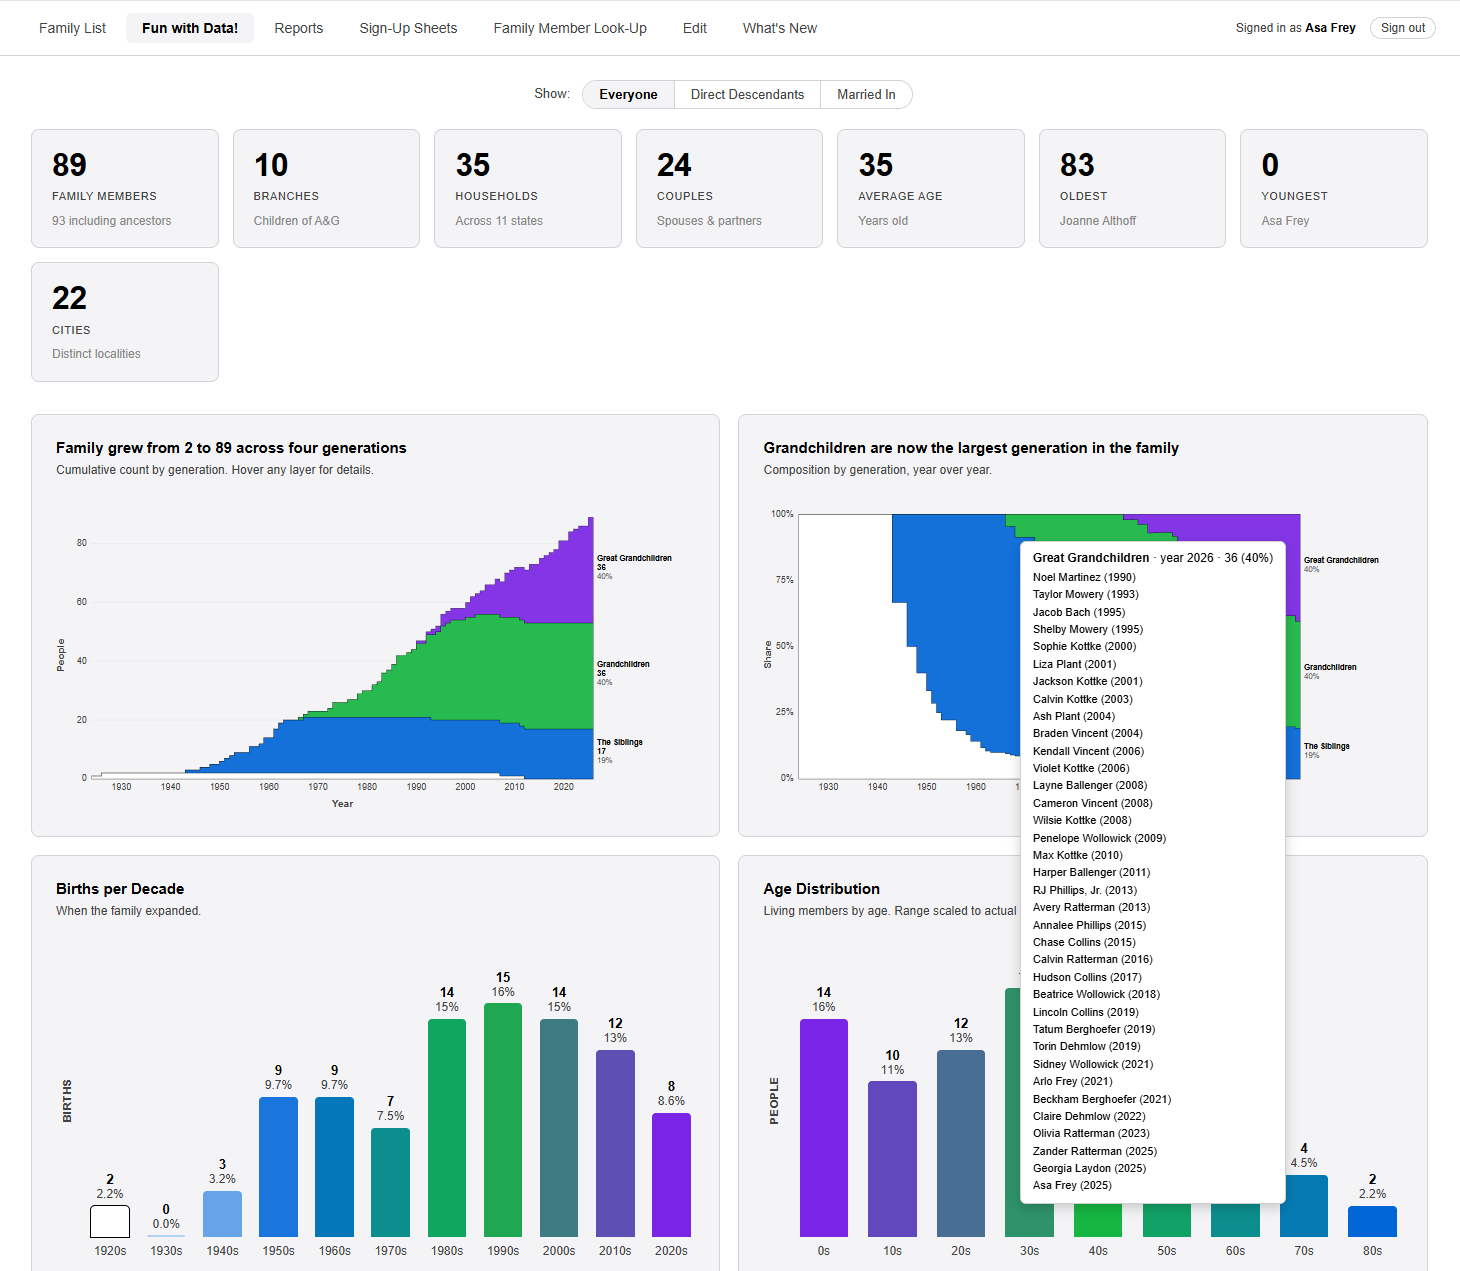
Click Fun with Data! in the menu. There's nothing to fill in here — it's just for browsing. The page adds everything up for you and shows it as tiles and charts.
The summary tiles
Across the top is a row of tiles with quick numbers — how many family members there are, how many households and branches, the average age, and who the oldest and youngest family members are.
The charts
Below the tiles are colorful charts — births by decade, ages across the family, where everyone lives, upcoming birthdays, and more. Just scroll down to see them all.
- Hover your mouse over a bar (or tap it on a touchscreen) to see the exact number it stands for.
- If you see a filter near the top, you can use it to narrow the charts to one part of the family; leave it alone to see everyone.
Reports
Print or save the family list, the birthday list, your own custom list, and contact cards.
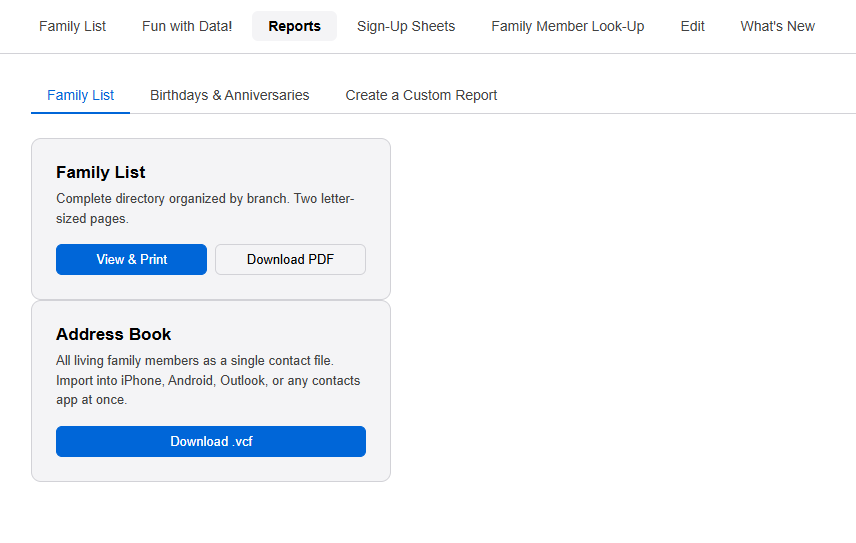
Click Reports in the menu. Near the top you'll see three tabs — Family List, Birthdays & Anniversaries, and Create a Custom Report. Click a tab to switch between them.
Family List tab
This tab has two cards.
Family List — the complete directory:
- Click View & Print to open the printable directory and print it (or save it as a PDF).
- Or click Download PDF to save the directory as a PDF file.
Address Book — every living family member as one contact file you can load into your phone or email program all at once:
- Click Download .vcf. A single file downloads.
- Open that file on your phone or computer and choose to add the contacts. (A .vcf file is the standard format that Contacts apps on iPhone, Android, and Outlook all understand.)
Birthdays & Anniversaries tab
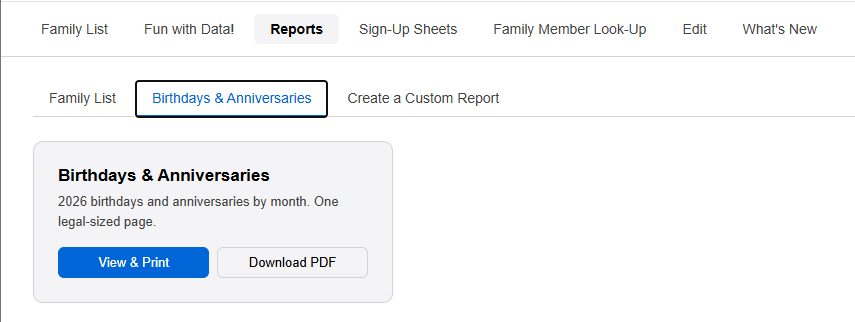
This tab makes the yearly list of everyone's birthdays and anniversaries, month by month.
- Click the Birthdays & Anniversaries tab.
- Click View & Print to open and print it, or Download PDF to save it.
Create a Custom Report tab
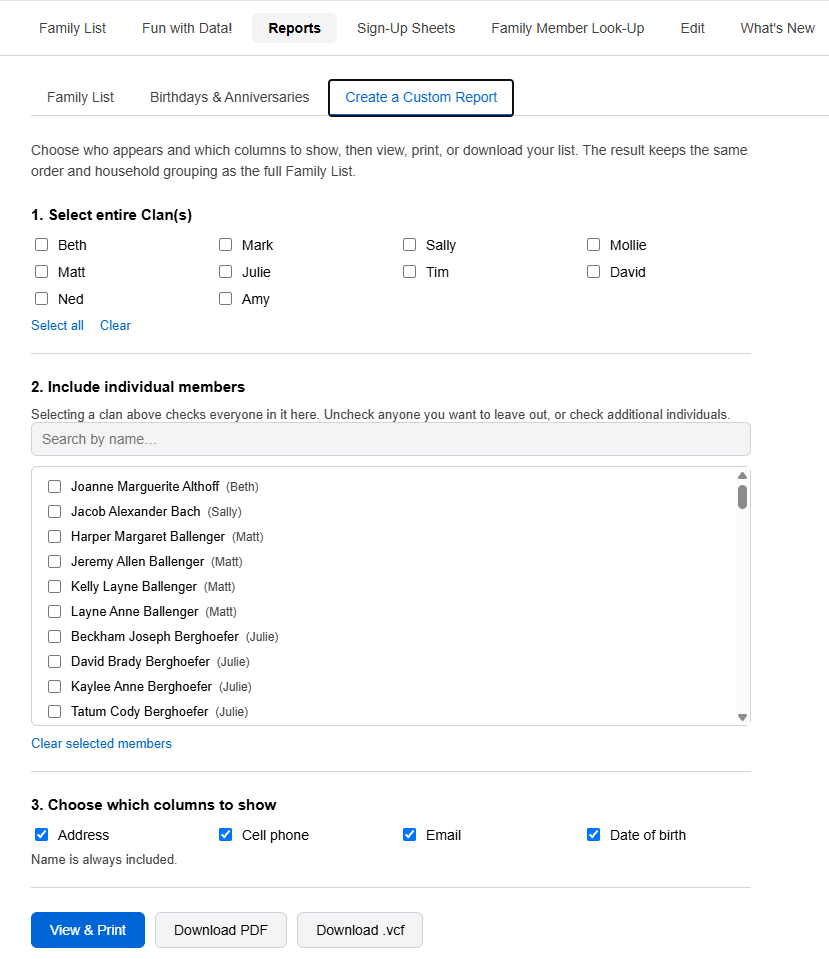
This lets you build your own list — just the people you want and just the columns you want.
- Click the Create a Custom Report tab.
- Step 1 — pick whole clans (optional): check one or more branches of the family to include everyone in them.
- Step 2 — pick individuals: the people from the clans you picked are now checked. Uncheck anyone you want to leave out, or check extra individuals. Use the search box to find a name quickly.
- Step 3 — choose columns: tick which details to show (address, cell phone, email, date of birth). Name is always included.
- Then click View & Print to print it, Download PDF to save it as a PDF, or Download .vcf to save just those people as contact cards.
About the contact cards (.vcf files)
The site can hand you contacts in three ways, depending on what you need:
- Everyone at once — the Address Book card on the Family List tab (all living family members).
- Just a chosen group — the Download .vcf button on the Create a Custom Report tab (only the people you checked).
- One person — the Download vCard button on the Family Member Look-Up page.
Sign-Up Sheets
Say who's coming to a family event and what dish you'll bring — and create sheets for new events.
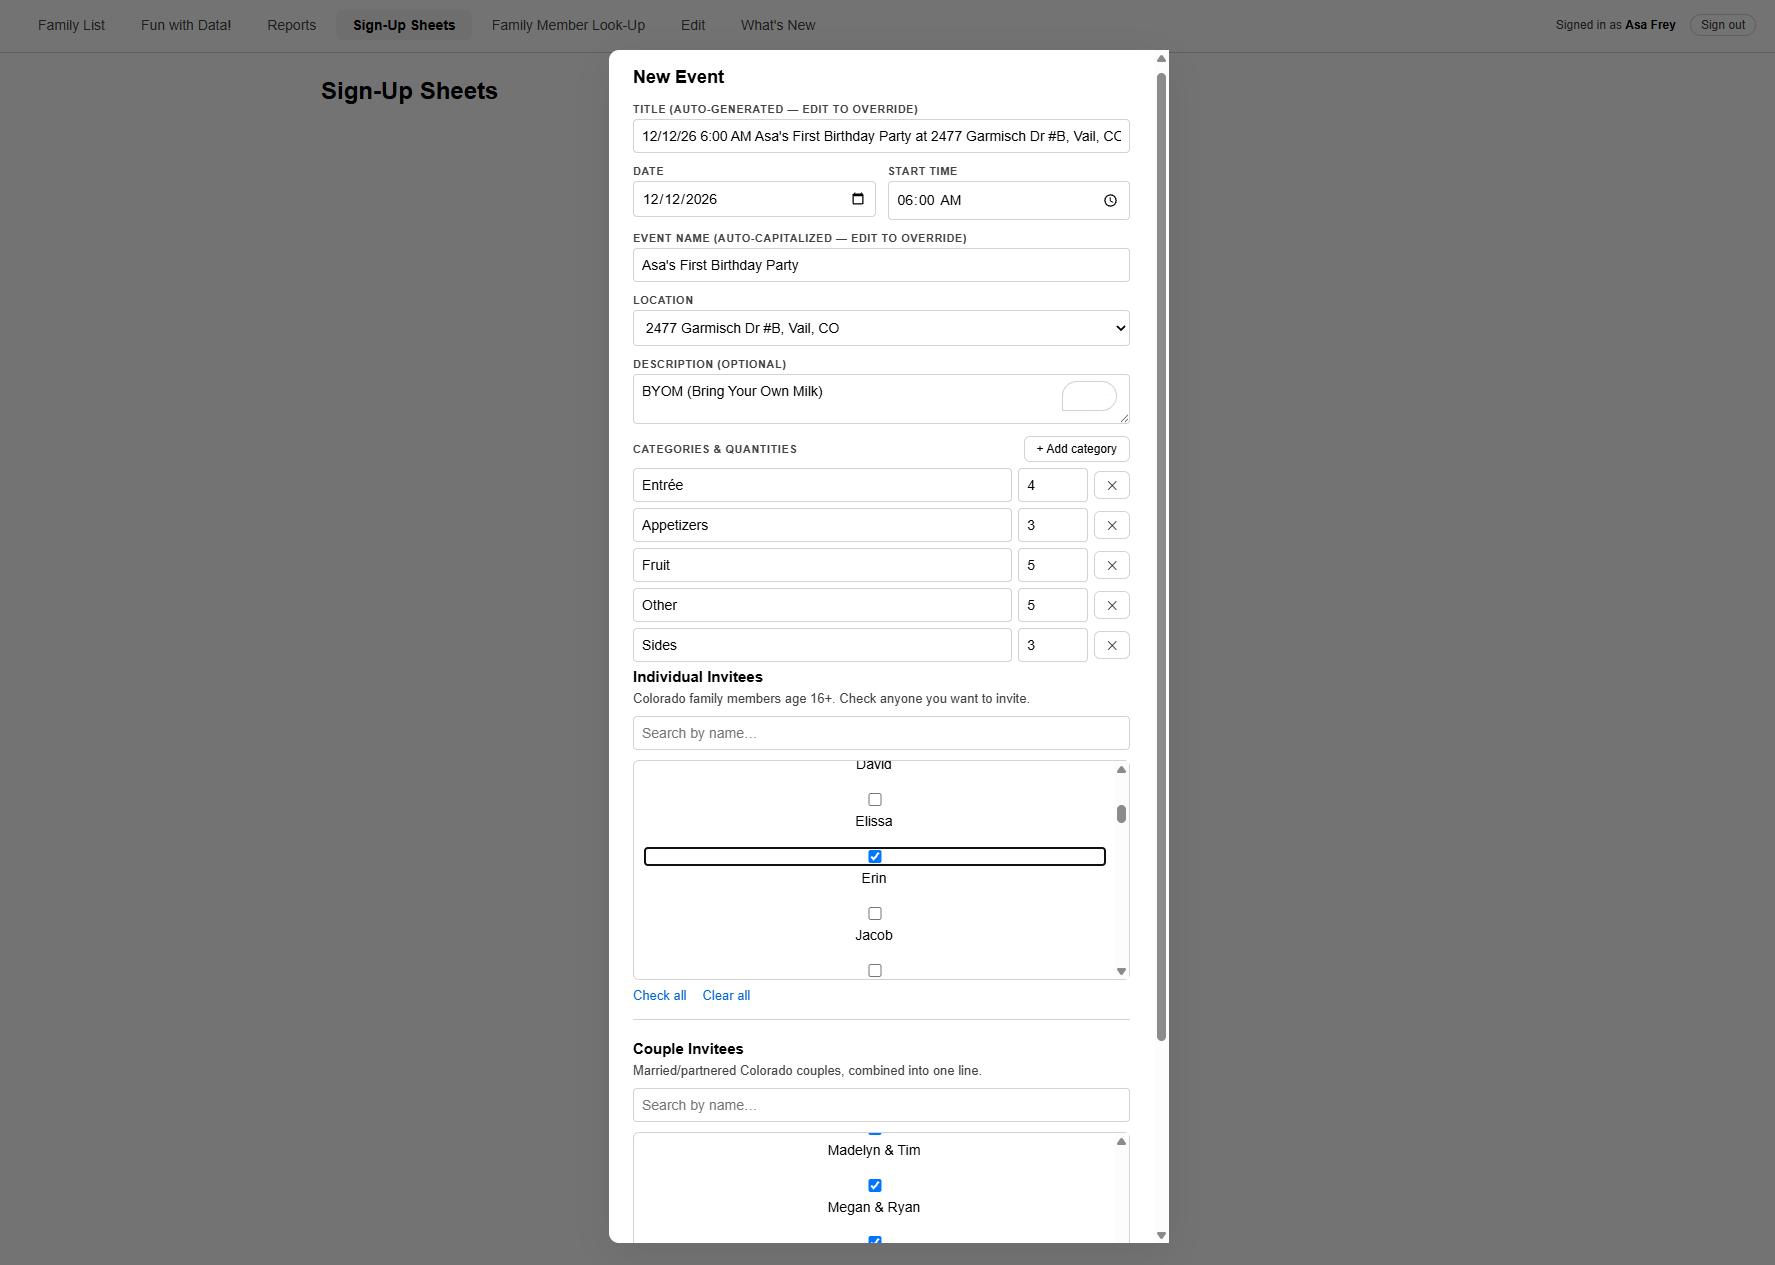
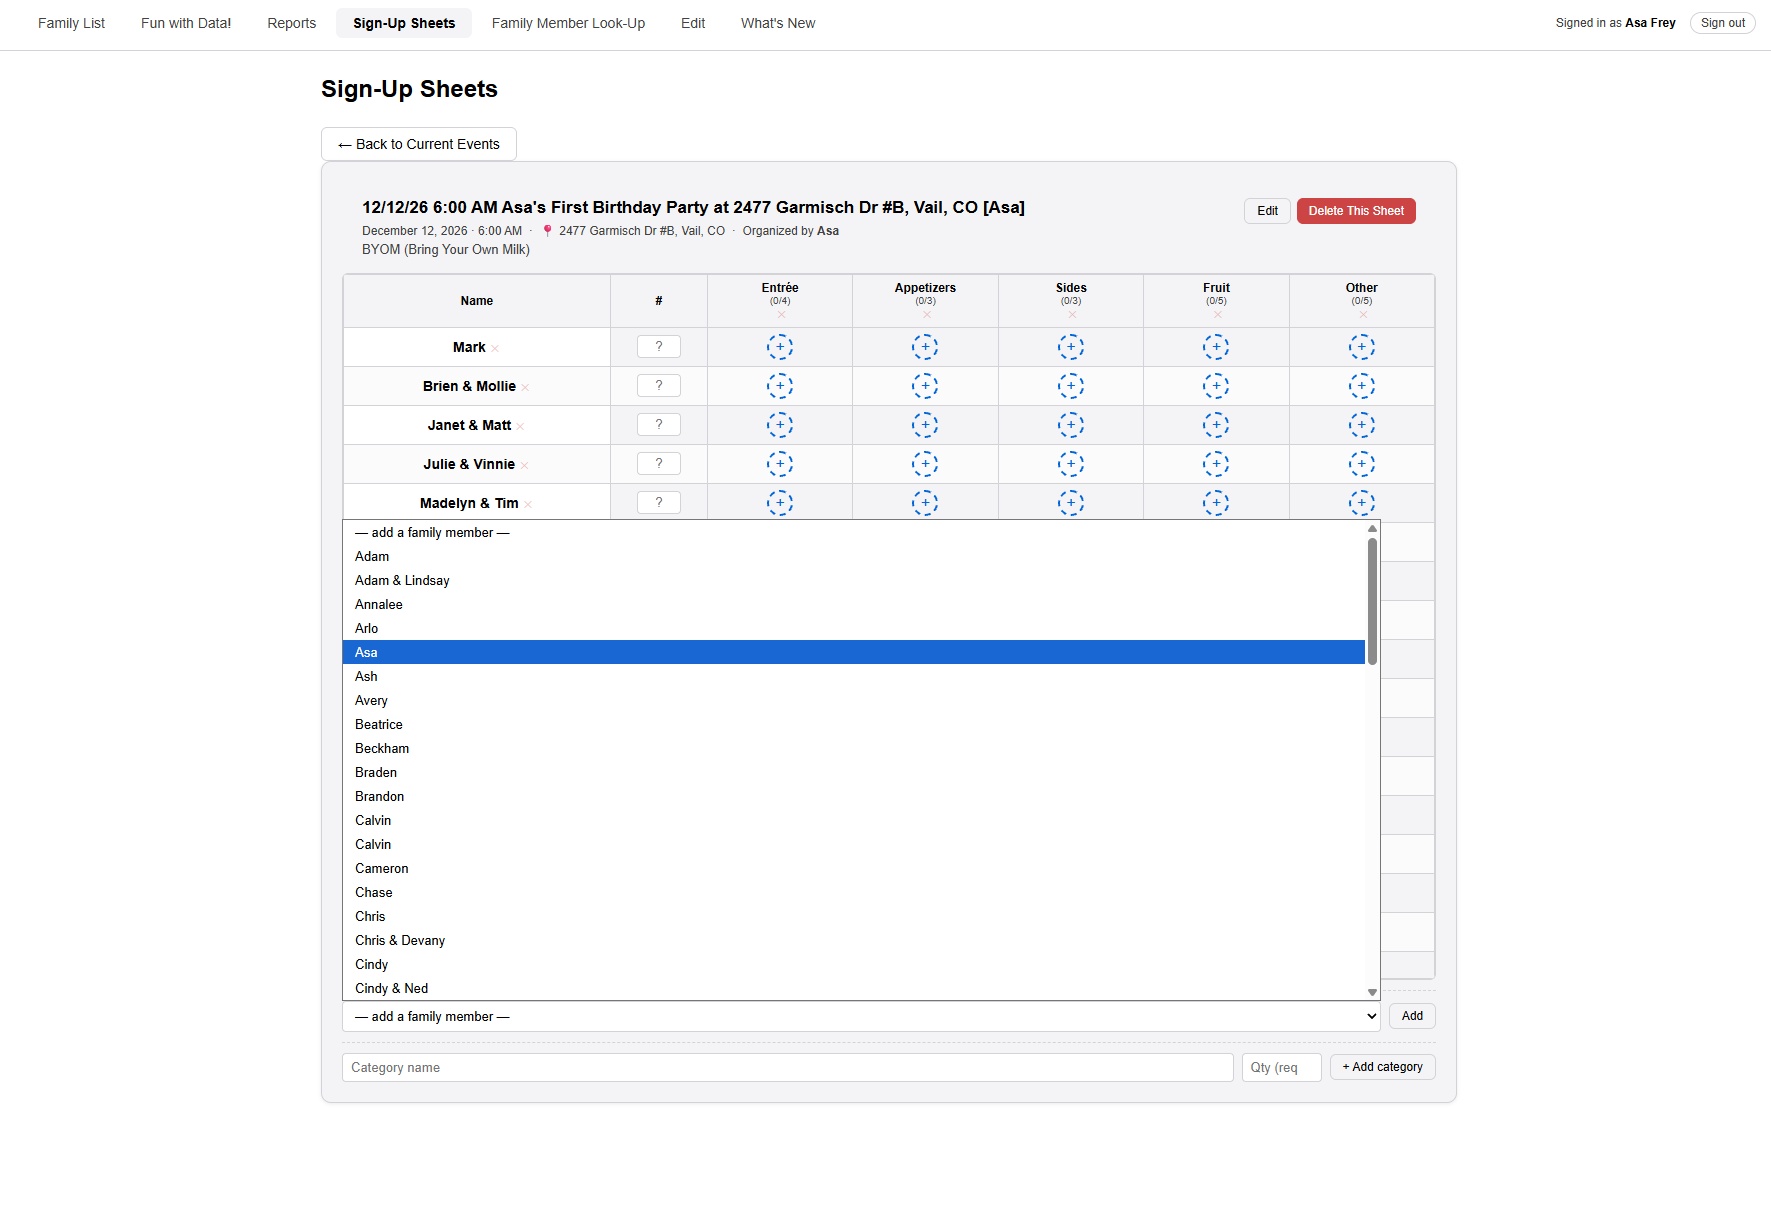
To make this section a little more fun, we'll follow the family's youngest member: baby Asa, who throws himself a first birthday party. He creates the sign-up sheet, adds himself to the guest list, and signs up to bring his very favorite things — all by himself. (He's a talented baby.)
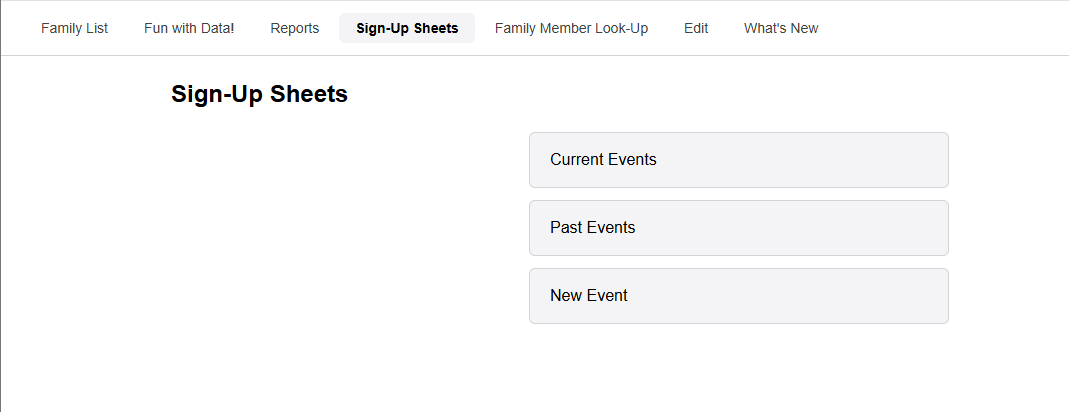
Click Sign-Up Sheets in the menu. You'll see three buttons:
- Current Events — upcoming events you can sign up for.
- Past Events — events that have already happened (kept for reference; you can't change these).
- New Event — start a brand-new sign-up sheet.
Signing up for an event
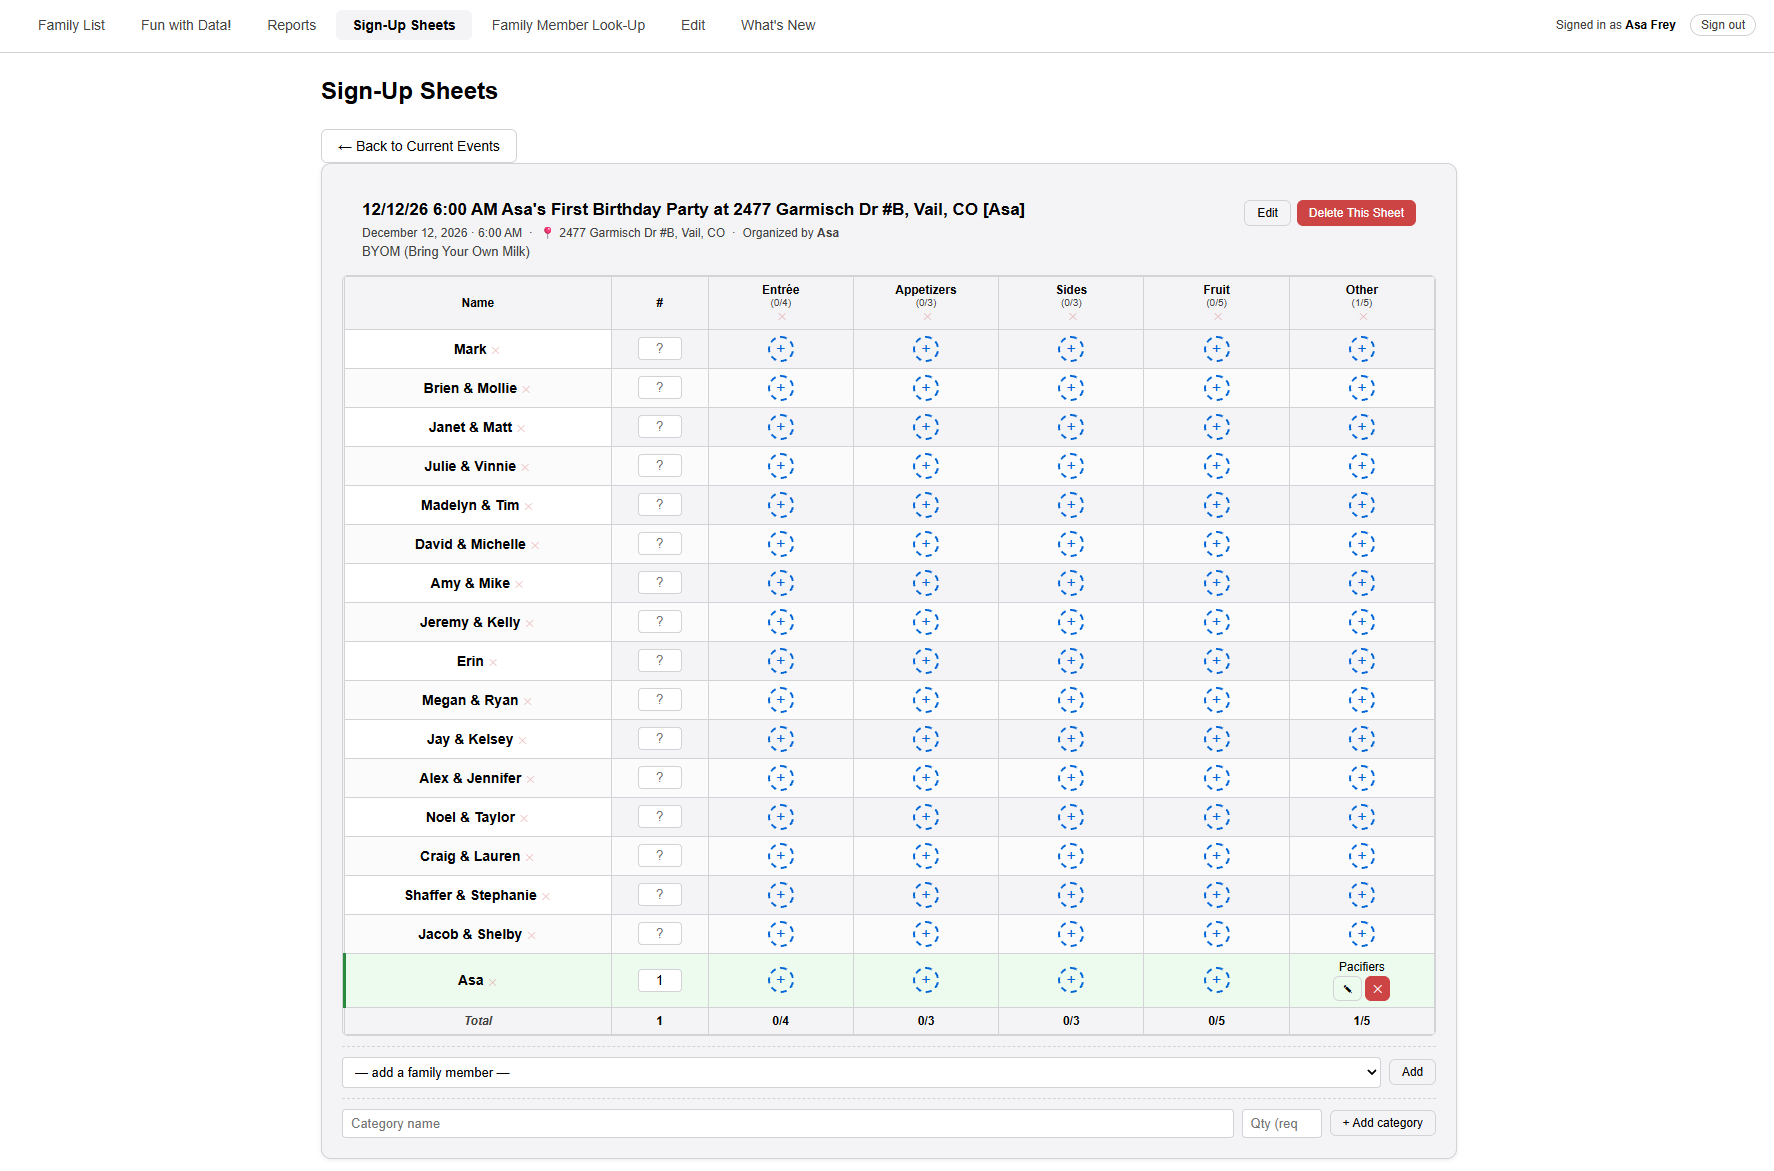
- Click Current Events, then click the event you want to open its sheet.
- The sheet is a grid. Each row is a person or couple; each column is a food category (like Entrée, Sides, or Desserts). Your own row is highlighted.
- In the # column on your row, type how many people are coming with you.
- To bring something, find the category column you want and click the + button in your row.
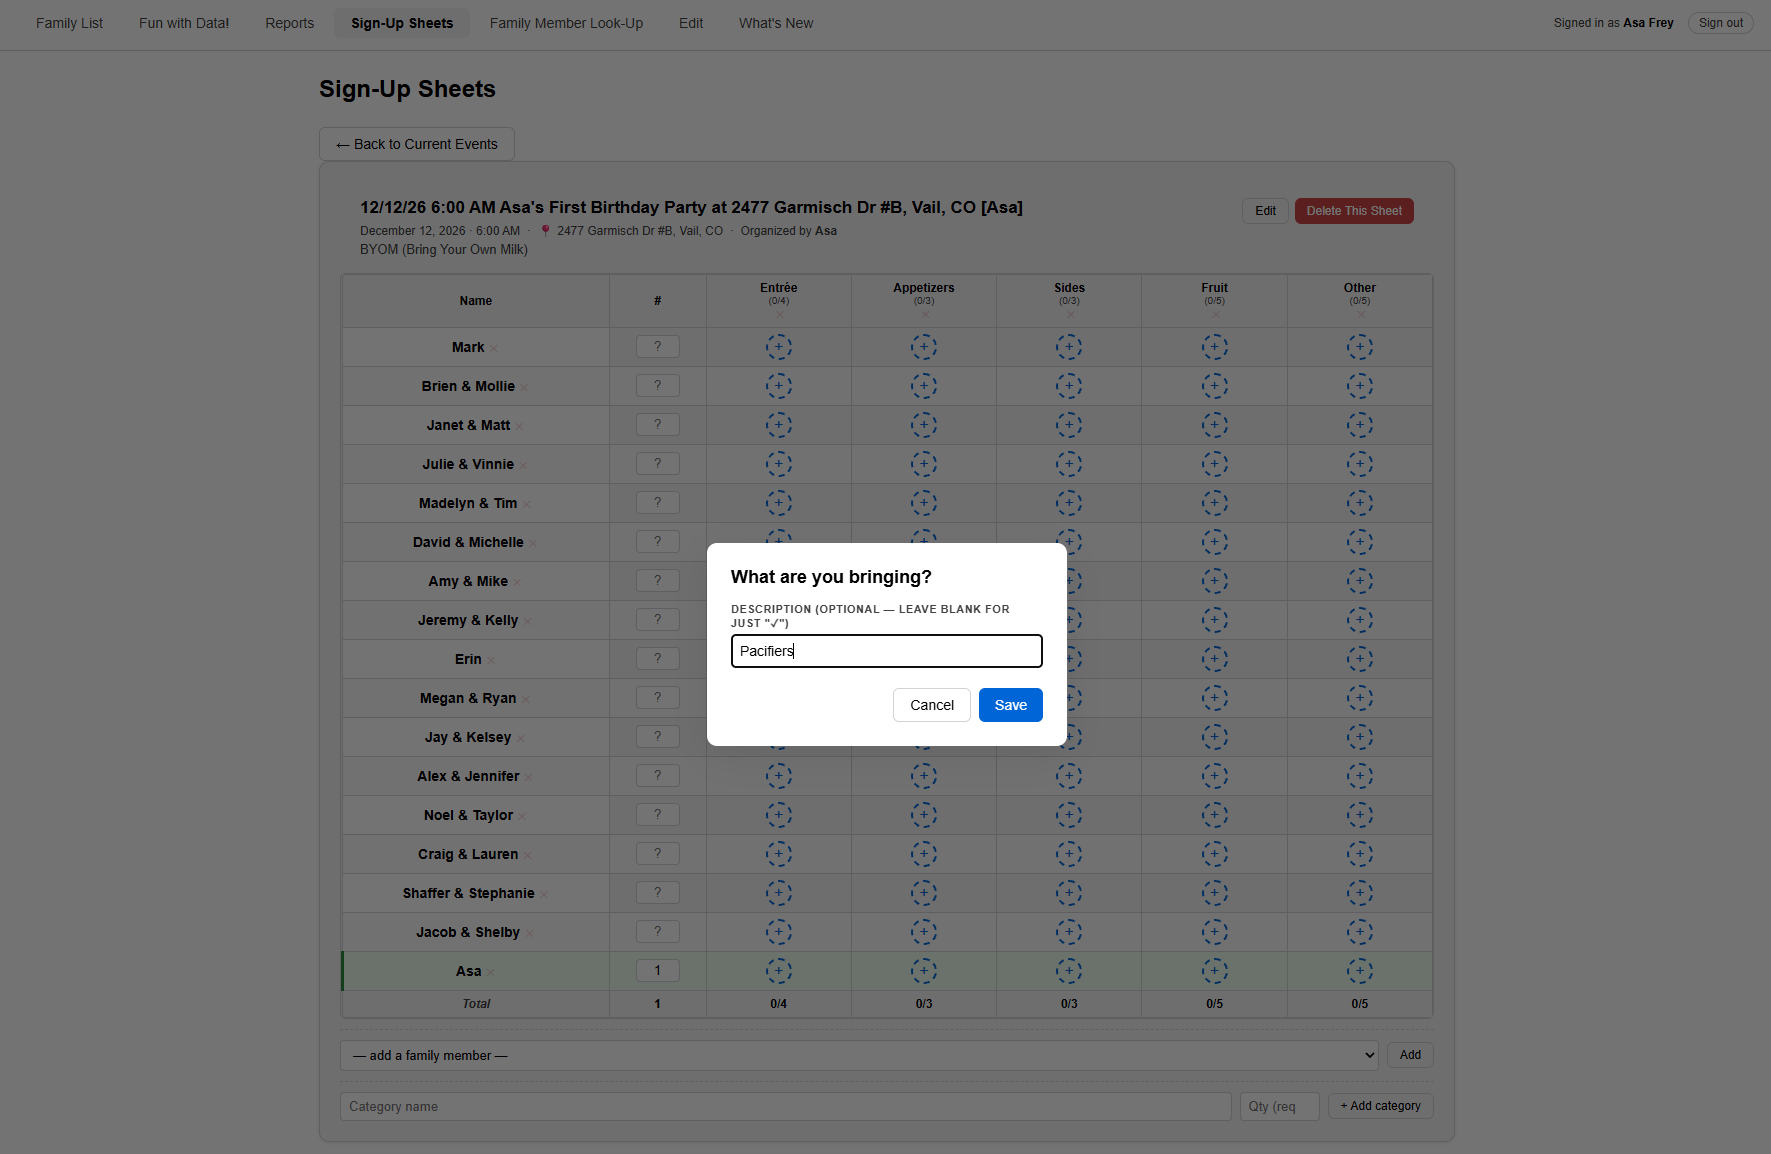
- A box asks "What are you bringing?" Type a short description (like "Potato salad") and click Save. You can leave it blank to just mark a check.
- Your entry now shows in that cell. To change it, click the pencil (✎); to remove it, click the ✕.
Creating a sign-up sheet for a new event
Anyone signed in can create a sheet. You can start from a blank form, or copy an earlier event to save time.
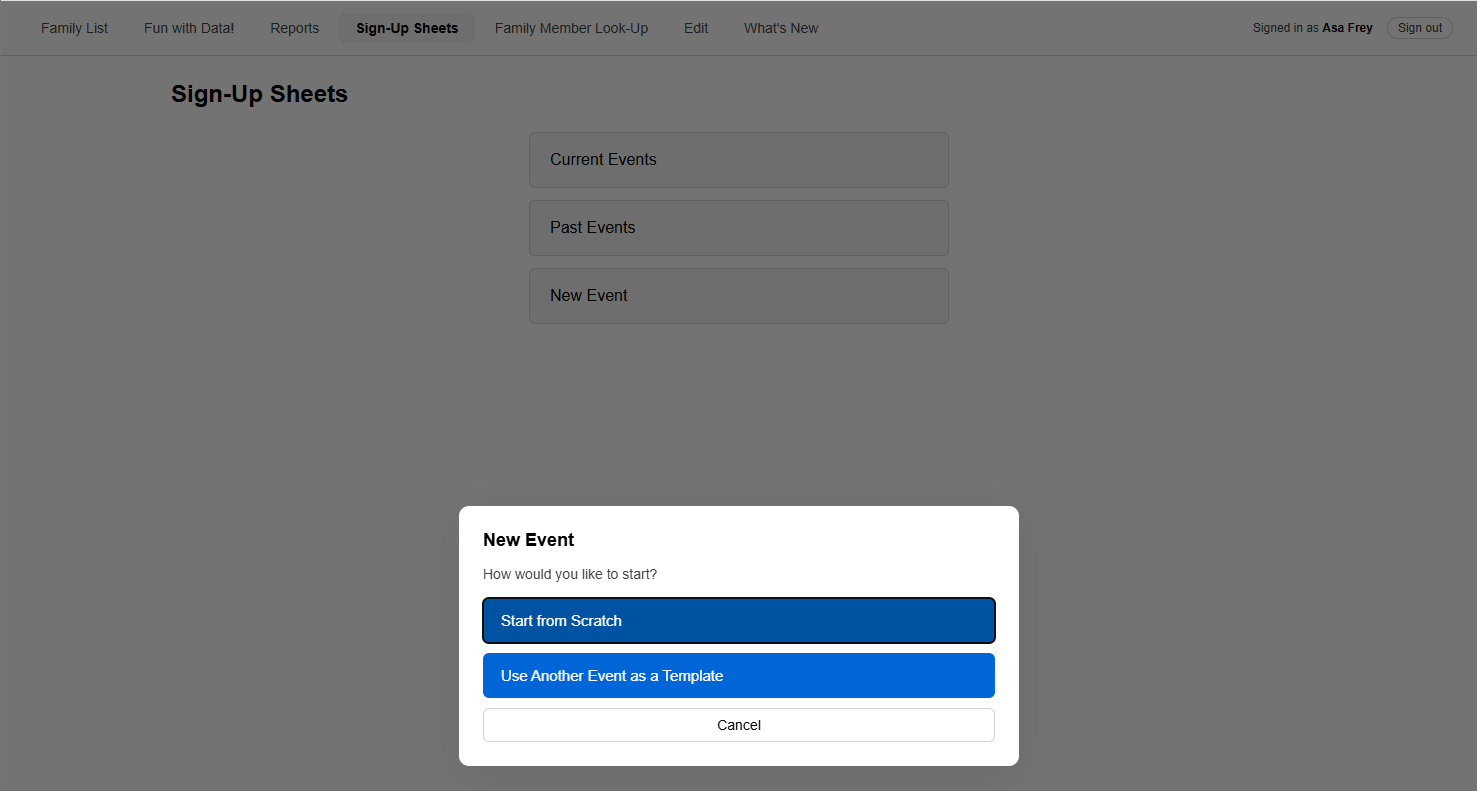
- On the Sign-Up Sheets page, click New Event.
- Choose Start from Scratch for a blank form, or Use Another Event as a Template to copy an earlier one.
Then fill in the form:
- Set the Date and Start Time.
- Type the Event Name (for example, "Christmas Eve" or "4th of July Cookout").
- Pick a Location from the list, or choose to type a different address.
- Add a short Description if you like (optional). The event's title fills in automatically from what you enter — you can type over it to change it.
- Under Categories & Quantities, list the kinds of food you need and how many of each. Click + Add category for more rows.
- Under Invitees, check the people (and couples) you want to invite. There's a search box to find names quickly, plus Check all / Clear all.
- Click Create Event. Your new sheet appears under Current Events, ready for people to sign up.
Family Member Look-Up
Quickly find one person's phone, address, email, and birthday.
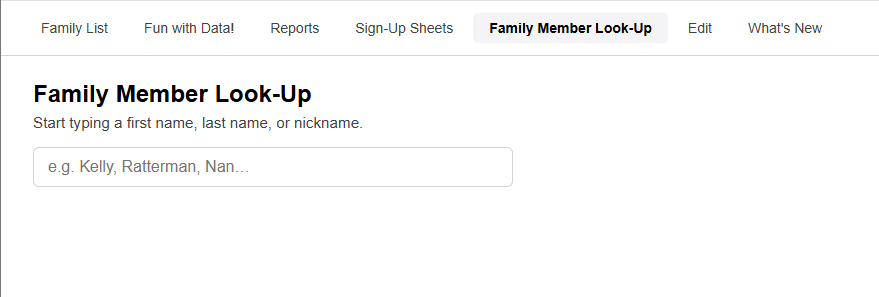
Click Family Member Look-Up in the menu. This is the fastest way to pull up a single person.
- Start typing a first name, last name, or nickname in the search box.
- A list of matches appears as you type. Click the person you want (or use the up/down arrow keys and press Enter).
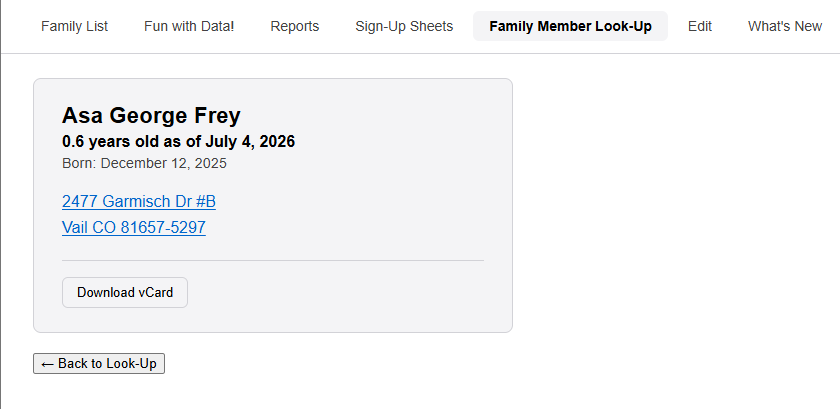
- Their card shows their age, birthday, address, phone numbers, and email. Tap a phone number to call, or the address to open it in maps.
- To save them to your phone or computer's contacts, click Download vCard.
- Click ← Back to Look-Up to search for someone else.
Edit
Update a family member's information — new phone number, address, email, and so on.
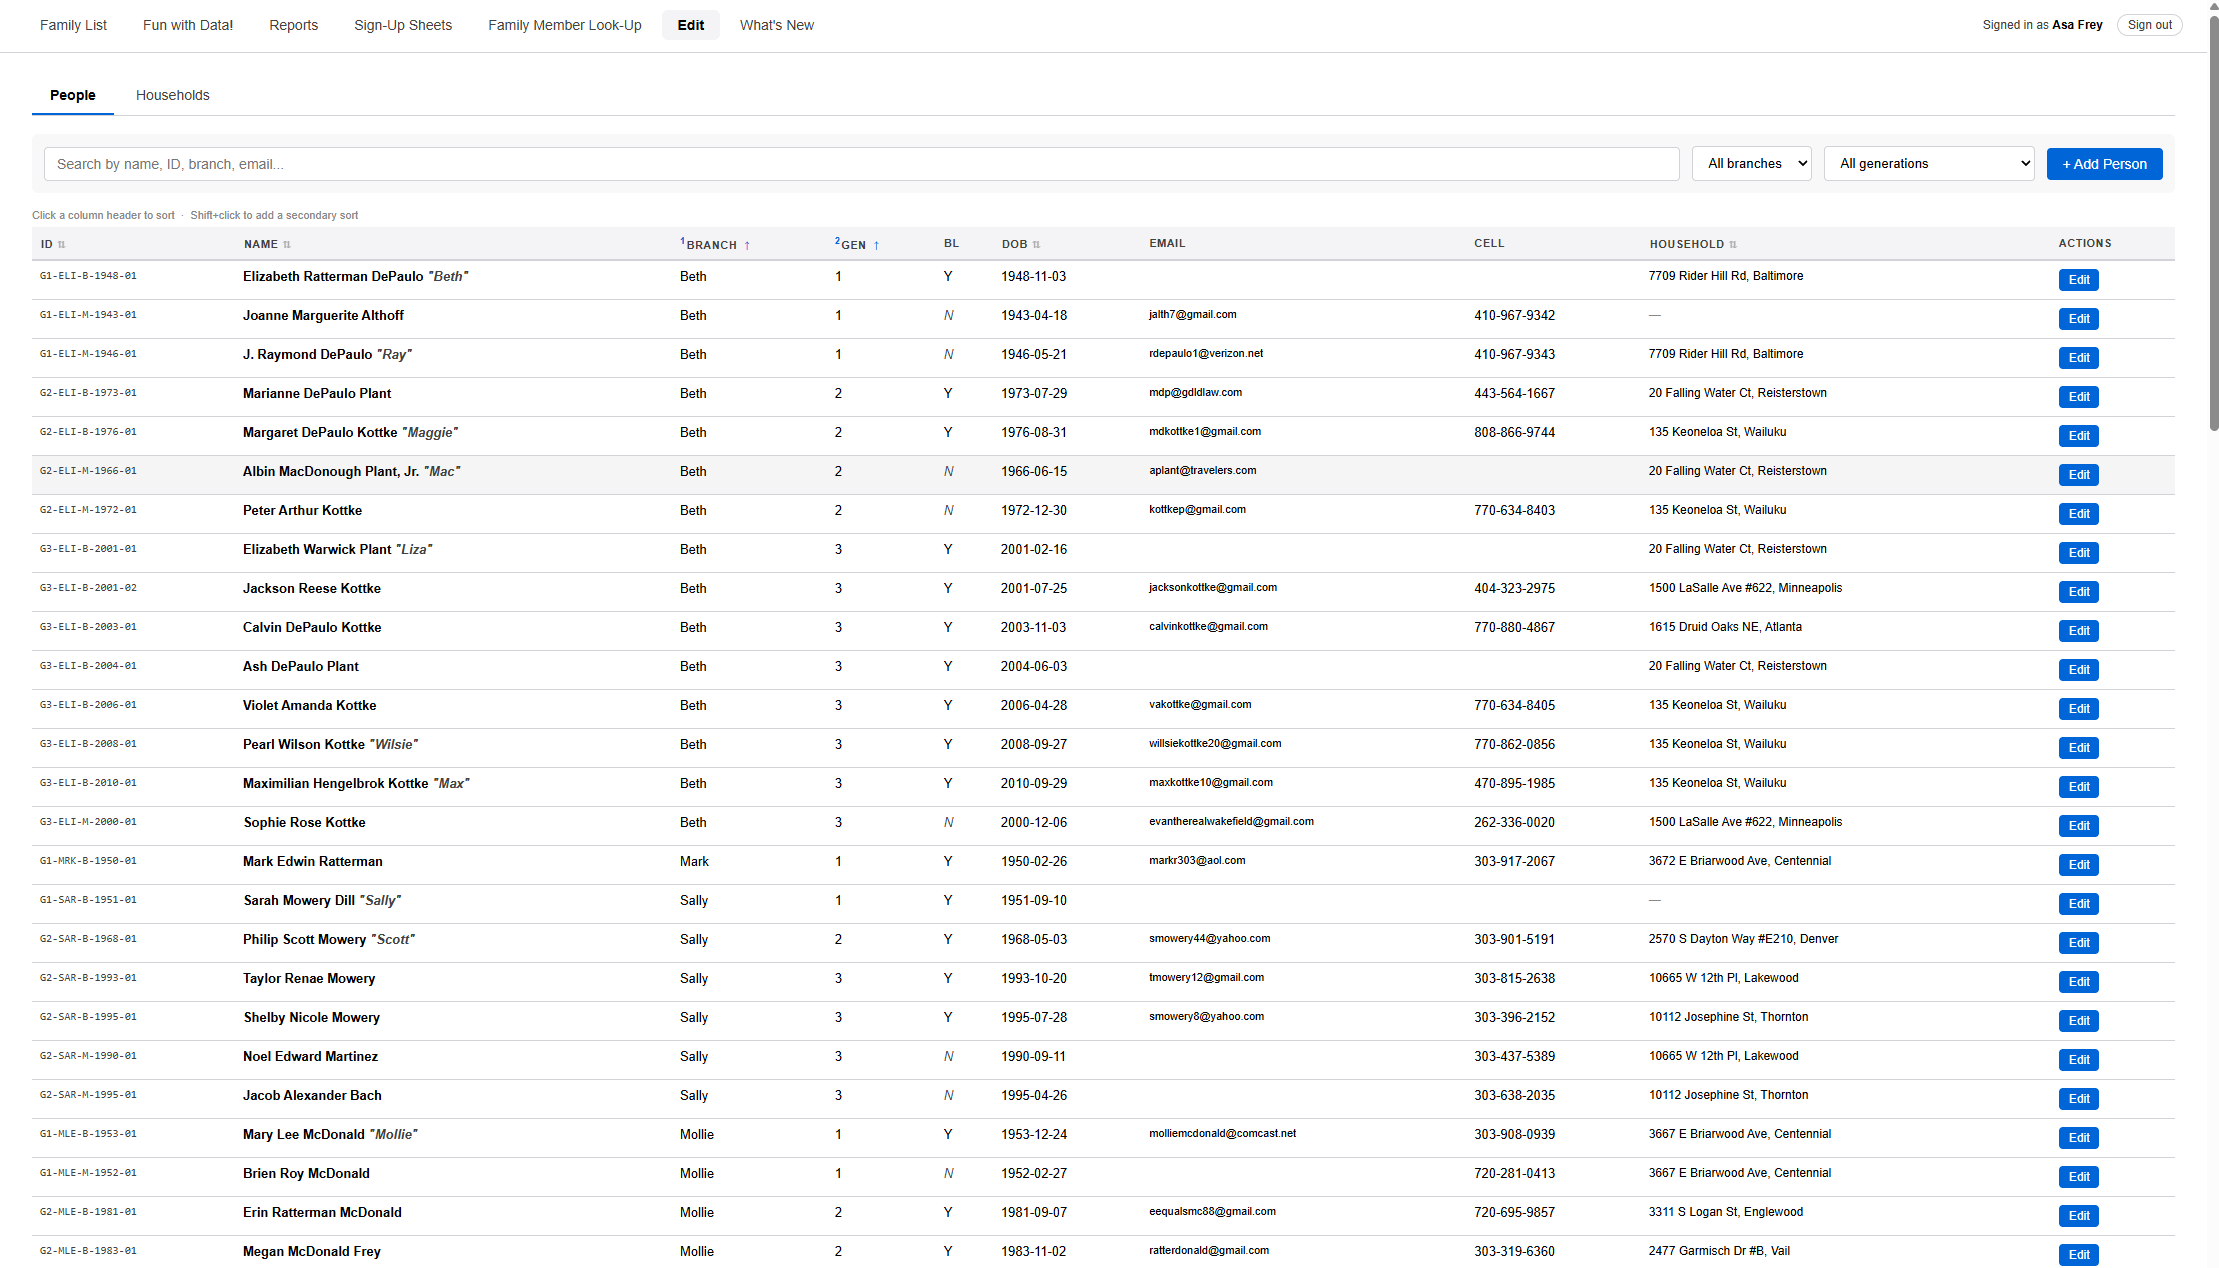
Click Edit in the menu. Near the top are two tabs: People (family members) and Households (addresses and home phone numbers).
Editing a family member
- On the People tab, find the person — type in the search box, or use the branch and generation filters.
- Click the Edit button on their row.
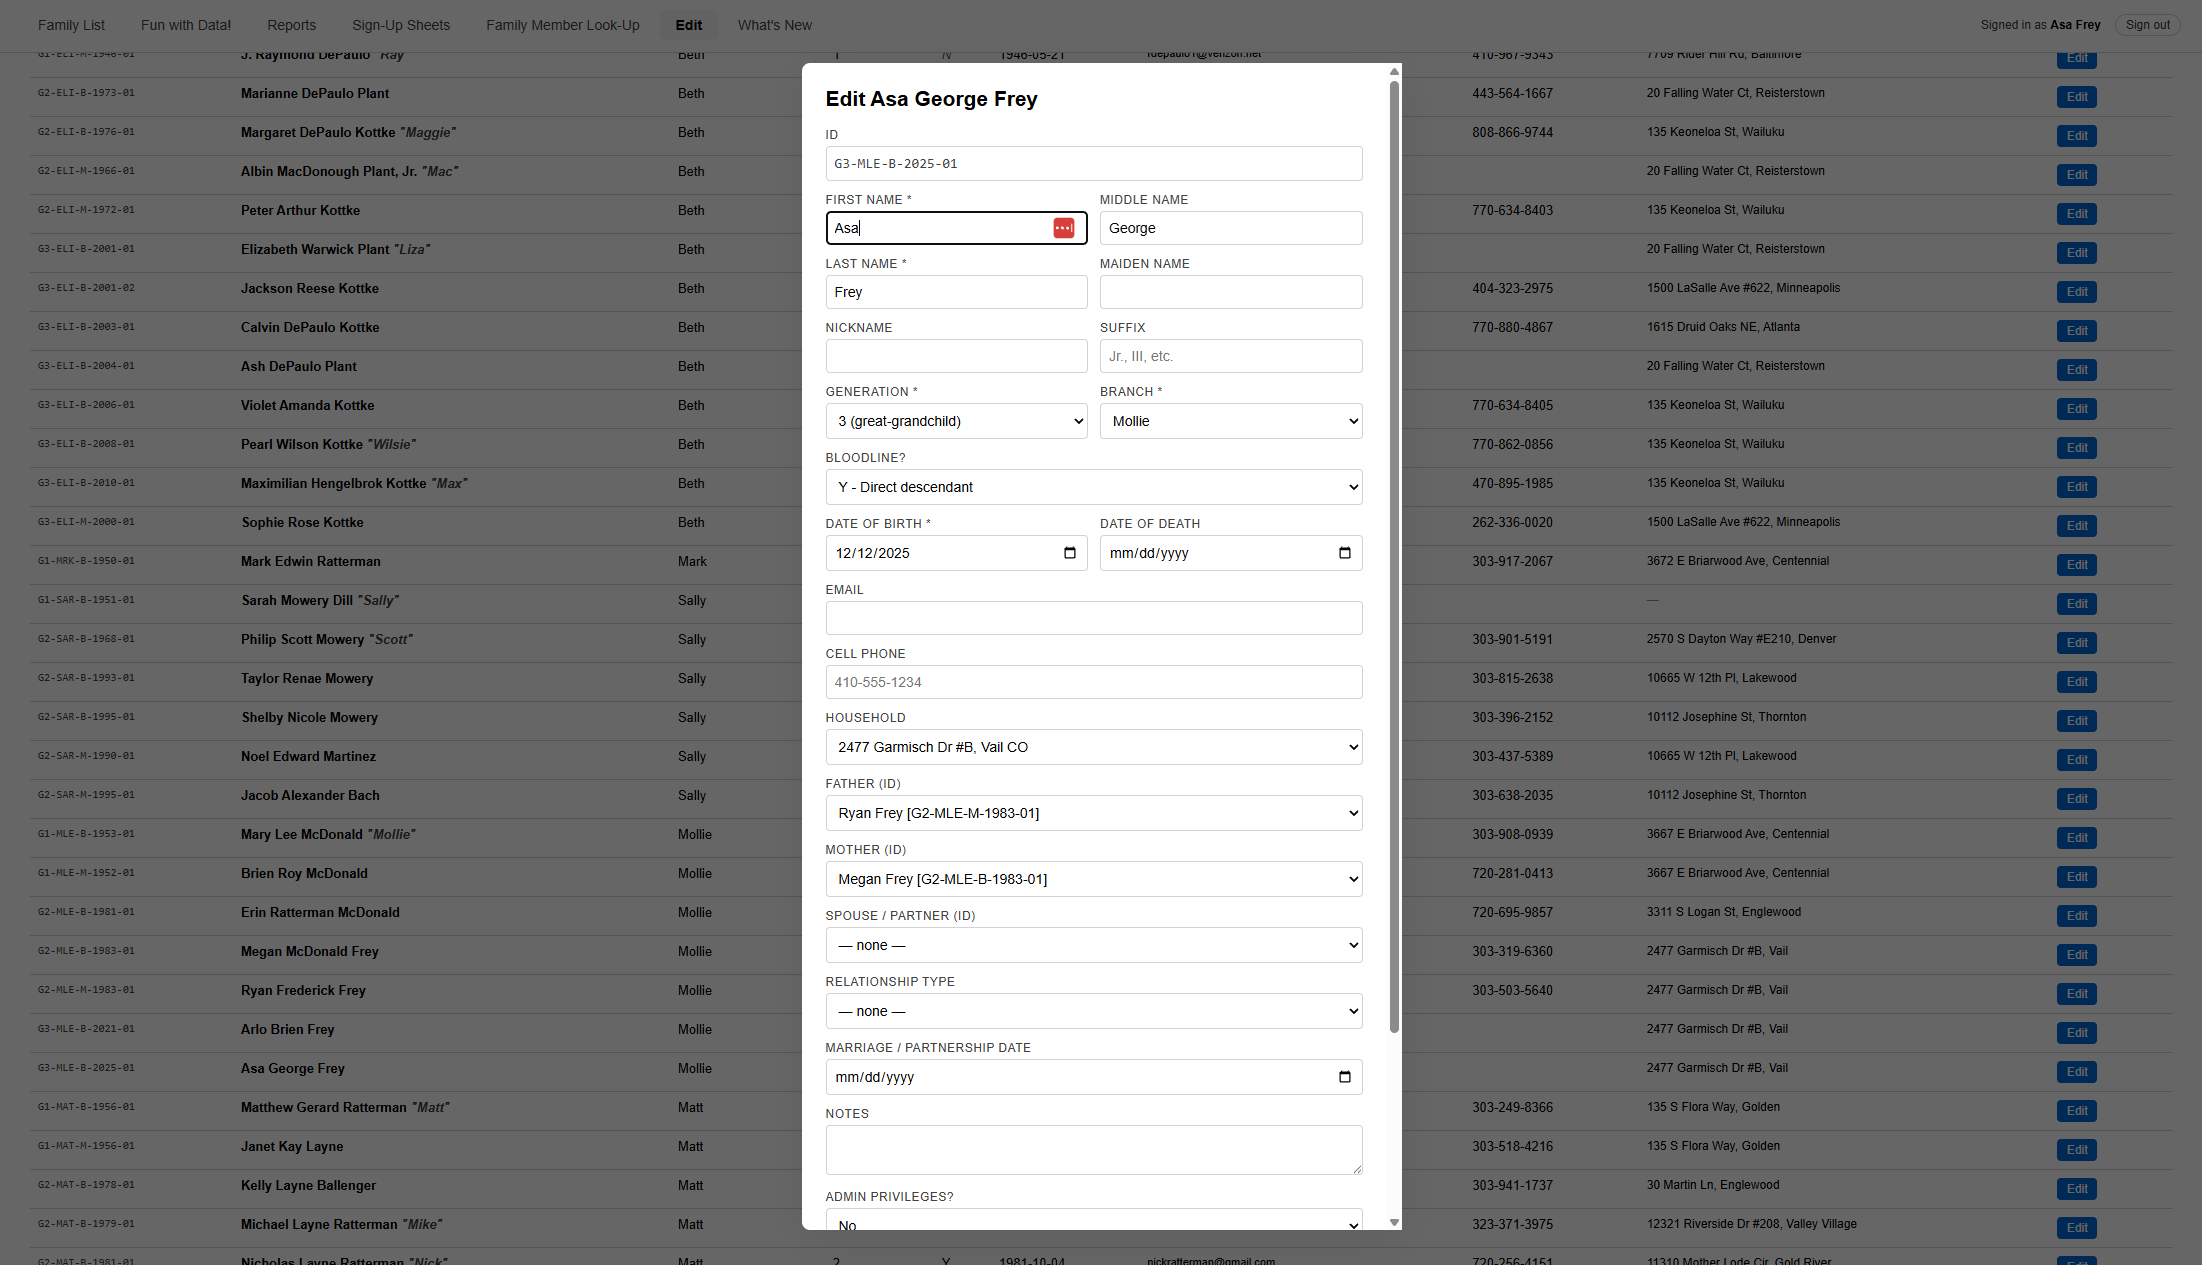
- A form opens with their details. Update whatever needs changing — cell phone, email, and so on.
- Click Save.
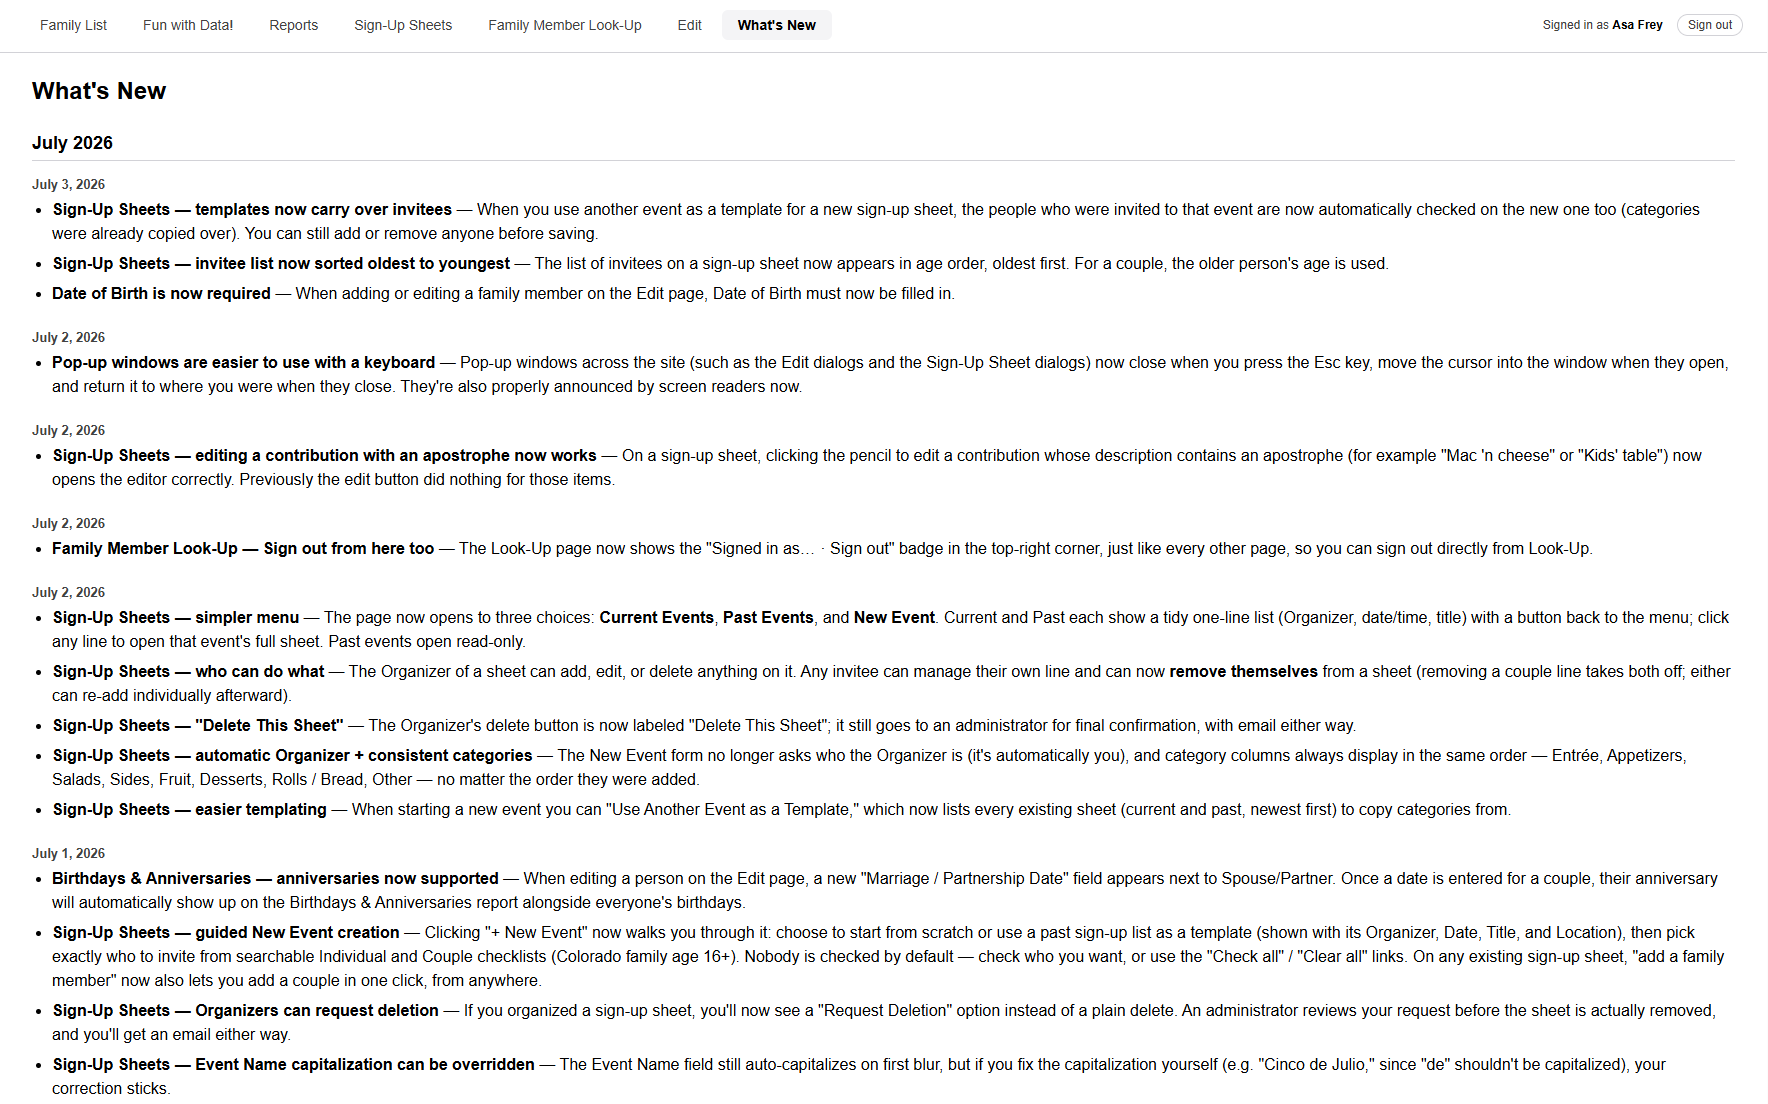
What's New
See what's recently changed or been added to the site.
Click What's New in the menu. It's a simple, dated list of recent updates and improvements, newest first. There's nothing to do here — just read down the list whenever you're curious what's changed. It's a good place to check now and then so you don't miss new features.